Mike Chi has just released a new firmware update for the RetroTINK 5x, that includes “LCD style” scanlines, tweaked automatic phase detection…and something previously thought to be impossible: Certain modes with 240p processing, that matches the 4:4:4 colorspace output that the OSSC provides! That’s right, in some scenarios, the output will now equal the OSSC’s! Here’s links, plus see below for more info:
Download the latest RT5x firmware here: https://www.retrotink.com/post/retrotink-5x-pro-firmware-updates
Purchase all RetroTINK Products via multiple vendors worldwide here: https://www.retrorgb.com/retrotink.html
I’ll start by saying if you’re someone who uses the OSSC or RT5x in “generic mode”, there will be no change at all. Those modes are still excellent and my guess is at least 80% of the people who buy those devices use them this way; That’s totally cool and there’s no need to change if you don’t want to…
…but if you’re the type of person who doesn’t mind a few extra clicks on your remote, custom timings can provide a sharper picture and in the case of 256-wide games in 1080p 5x (Over) mode, you’ll even get a pretty accurate aspect ratio (check out the RT5x review below for AR examples). In the case of the OSSC, implementing custom timings meant manually programming each resolution for each console, either through a web interface, or right on the OSSC itself. Then, you’d have to manually set phase for each individual console, as well as each resolution the console supported. And you’d have to re-do this every time you changed a cable, or even swapped between two of the same consoles.
Alternatively, on the RT5x, custom timings come pre-programmed. Also, the RT5x never requires you to set phase! So, if you’re using SNES, Genesis, N64, PlayStation, or a few others, you’ll just need to set the RT5x’s H. Sampling mode to match the resolution and console you’re using. It’s not fully-automatic, but much easier overall. The only downside of this, is you can’t manually add anything, so there’s no way to program in your favorite, odd arcade board, or retro PC’s timings.
Other than being able to manually add your own profile, the OSSC offered one other advantage: Full 4:4:4 colorspace processing, from the input to the HDMI output. The RT5x processes the 240p signal as 4:4:4, but the HDMI output has to be compressed at 4:2:2. As I said at the beginning of this post, it’s not something you’d notice in “generic mode”, but with optimal timings, there was a small difference. Check out the OSSC vs the RT5x’s launch-day firmware (click for full-sized):

That’s obviously not a big difference and most people probably wouldn’t notice…especially when viewed on a 4KTV from a normal viewing distance; Remember, these “Link” screenshots are 1080p, nearest-neighbor scaled to 19,200×10,800…not a realistic viewing scenario. Still, some people’s eyes are sensitive to sharpness and they want the sharpest possible solution.
Well, check this out – Here’s the latest RT5x firmware v1.55 vs the OSSC (click for full-sized):

As you can see, with both devices in “SNES 256” mode while outputting 1080p (Over / 5x), the output is identical. That means by simply setting the RT5x’s H. Sampling mode to “SNES 256”, you can have the sharpest output possible from a retro gaming scaler! Not all modes and output resolutions have this option though – The chart below shows which consoles support 4:4:4 in each output mode:

Overall, this is an excellent, free update for RT5x owners. There’s a few more bonuses though!
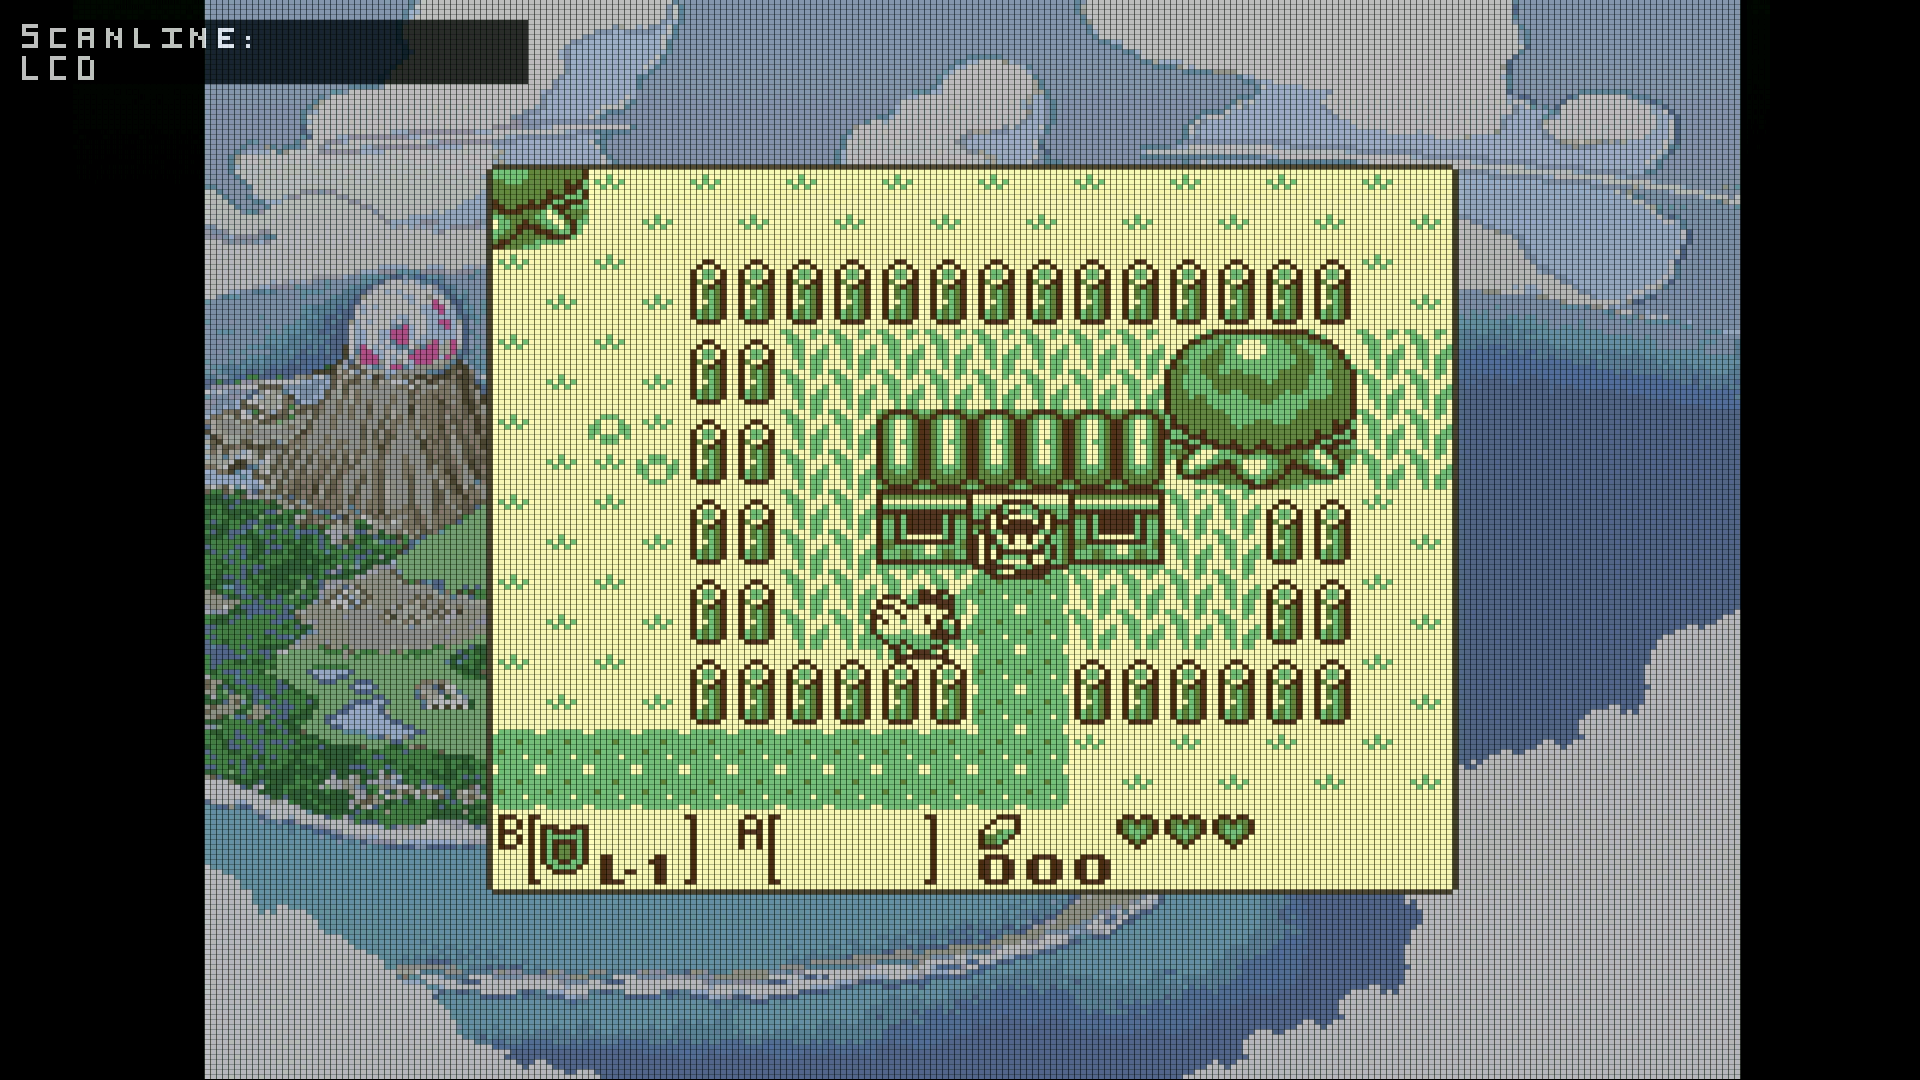
Mike also added the option for “LCD scanlines”, which emulate the look of older handheld consoles. It’s my opinion that if done right, these are much more accurate to the look of original LCD screens, than when trying to mimic the look of a CRT’s mask with horizontal black lines. Mike only enabled this option when in an optimal sampling mode, set to an integer-scaled output: This is to ensure the “grid” lines up the exact way it would on an LCD, as opposed to just drawing a bunch of lines on the screen.
Here’s an example, with a full-sized version available if you click on the picture; Make sure to view it at 100%, otherwise the scanlines won’t look right:
There’s also a new font for the menu, as well some tweaks to phase: While it’s still 100% automatic, the initial detection will take a bit longer, to ensure it’s lined up properly.
The videos below have lots more info on the RT5x and you can search RetroRGB to see all the very cool enhancements added since launch day!: https://www.retrorgb.com/?s=retrotink+5x+firmware
