Markus recently released firmware v0.61 for the OSSC Dexx board that offers a few new features. The first is the ability for DE-10 users to choose which side the dexx is mounted to. That means if you’d like to alternate between using your DE-10 as a MiSTer and a dexx, you can leave everything connected and just swap MicroSD cards! Markus also added 240p120, 480p120 and 540p video modes, which I’ll explain below. To start, here’s how to update (or install) your dexx:
- Purchase the dexx: https://retrorgb.link/osscdexx
- Start with a clean MicroSD card (use SDFormatter or any other method of clearing a MicroSD).
- Download the latest MicroSD image here (get the zip): https://github.com/marqs85/DExx-vd_isl/blob/master/board/de10-nano/software/bootloader/sd_image/
- Unzip the file
- Use any imaging software, like Win32DiskImager, or Rufus to flash the sdcard_cv.img to the MicroSD
- After imaging is complete, you’ll need to select which orientation you’d like to position the dexx (more info below below):
- Download this file if you’re using the original dexx position of GPIO 0: https://github.com/marqs85/DExx-vd_isl/blob/master/board/de10-nano/output_files/DE10-Nano-vd_isl.rbf?raw=true
- Download this file if you’d like to use the new position of GPIO 1, that allows you to leave the MiSTer RAM connected to GPIO 0: https://github.com/marqs85/DExx-vd_isl/blob/de10n_gpio1/board/de10-nano/output_files/DE10-Nano-vd_isl.rbf?raw=true
- Replace the existing DE10-Nano-vd_isl.rbf file on the root of the MicroSD card with the one you just downloaded; If you need to switch dexx GPIO locations you can just replace this file without re-imaging.
- Eject the MicroSD
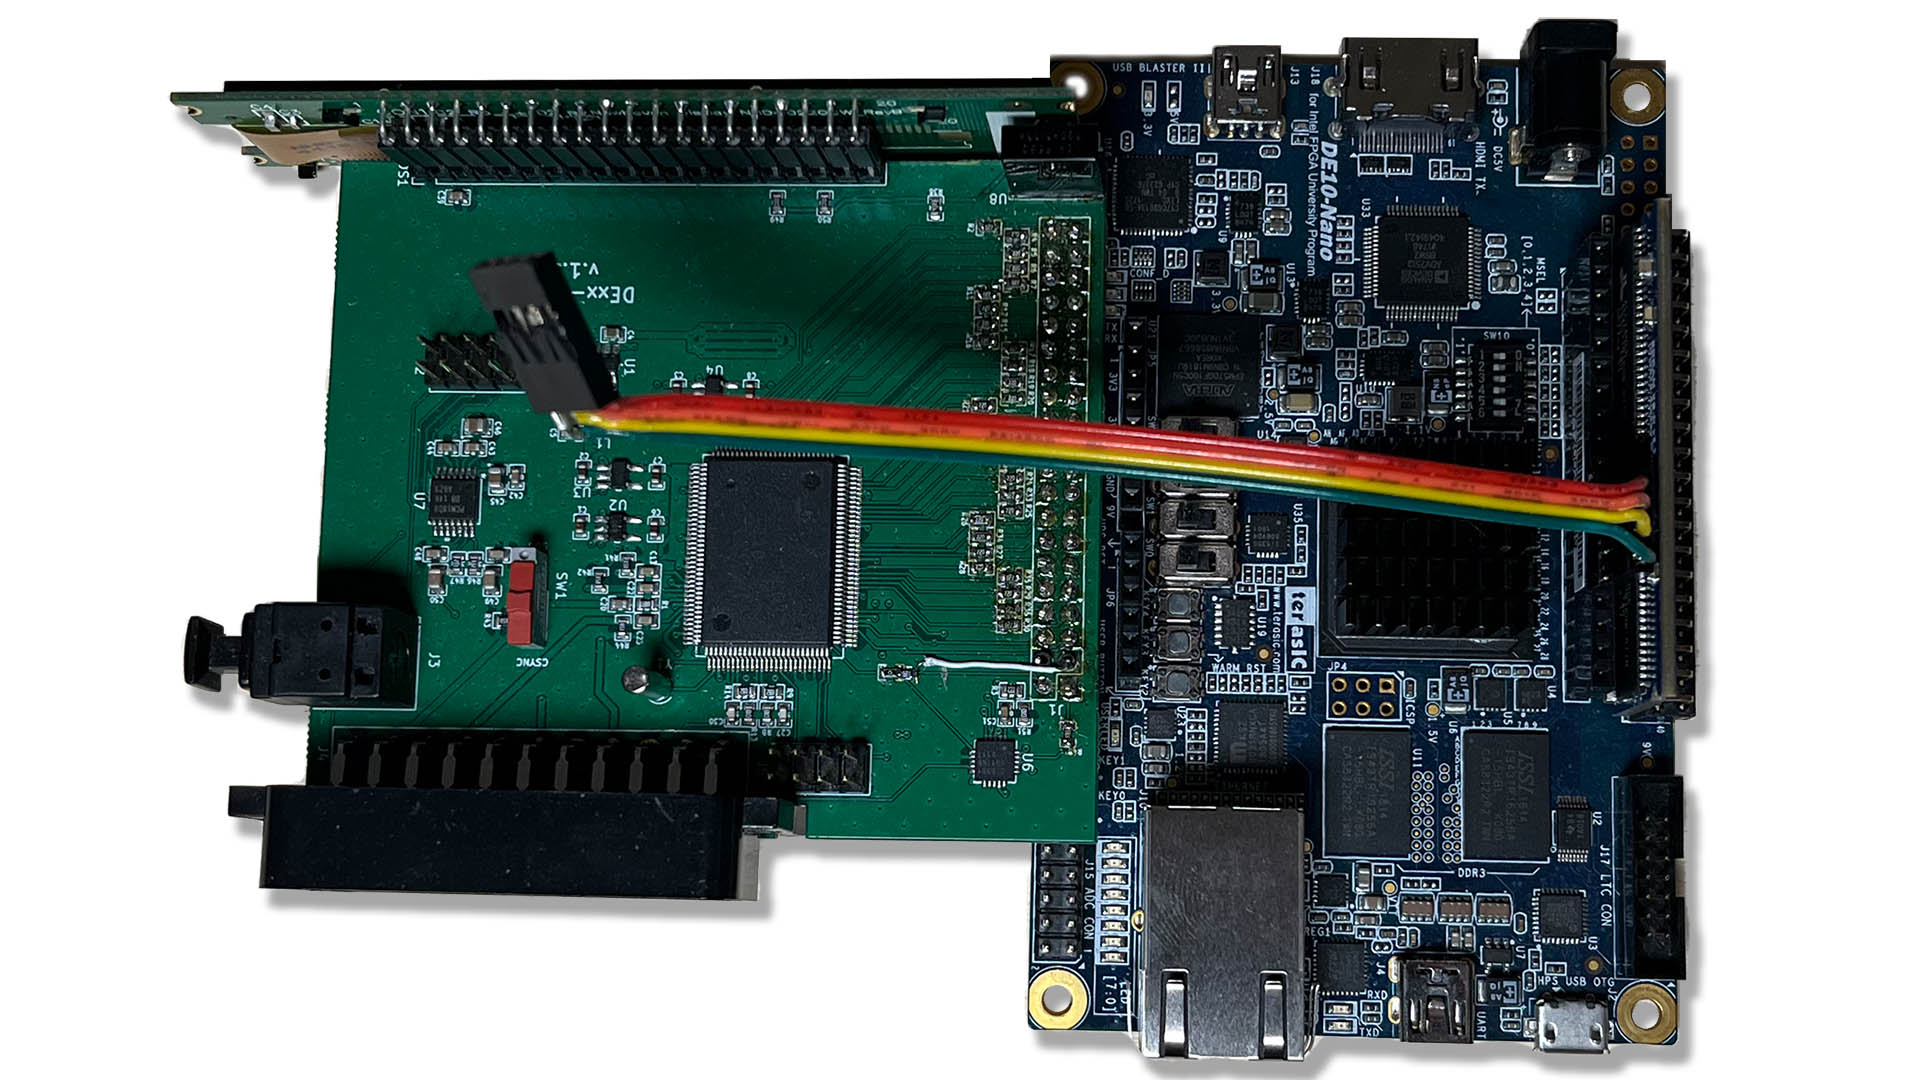
Here’s an example of the original dexx position. Note that it’s connected to GPIO 0, which is normally where the MiSTer RAM module would be located. Also note the audio cable’s position, with four empty pins below it and the bottom-most pin (the green wire on my cable) being connected to the top-farthest pin on the dexx’ audio header (click for full-sized pic):

Now here’s the dexx in it’s newly-available position of GPIO 1, with the MiSTer RAM module (not needed for dexx) in the GPIO 0 position (you can also reference the network jack for which side is which). Please note that the audio cable is still plugged into the original location on the DE-10, which means you’ll need a longer cable to reach the dexx:

While the “switched position” might be the most notable change in this firmware for most people, Markus also added some resolution options to the scaler output. At the moment, I’d call these “expert only” and while I’ll have another livestream soon demoing the new modes, here’s the basic overview:
- 240p120 = This is for people who want to use 240p signals on an 31KHz VGA CRT monitor. Even if the CRT isn’t normally compatible with 120Hz modes, this should still work!
- 480p120 = Unlike the above mode, this one will require your CRT to be 120Hz compatible.
- 540p60 = This is for people with Sony HD CRT’s who want to try running in it’s native frequency; Those monitors always run at 33.75KHz, which can be either 1080i or 540p. This is exactly like how 15KHz signals can either be 240p or 480i.
If you know for a fact that you’d like to test those modes, go for it! If you’re still not sure what the advantage of each might be, I’ll have a 240p120 + BFI livestream soon and I’m working on a video that goes into great detail about HD CRT’s – Keep an eye out for those!

