
[UPDATE August 27, 2020: It has been confirmed that the OSD will not be present on any analog outputs.]
It’s not always easy to be a fan of the Nintendo 64. Sure, it is rightly revered as an iconic platform that helped shape 3D gaming as we know it, but that intrepid spirit also led to a hodgepodge of baffling and divisive choices that have dogged it since day one. In spite of all the things that Nintendo got wrong though, just about everyone I know that spent time with an N64—myself included—fondly remembers the incredible experiences it could provide. Whether it was the comedy of a “slappers only” match in Goldeneye, an exhilirating ride around Rainbow Road, or that first awe inspiring view of Hyrule Field in 3D, the N64 was a system that succeeded emotionally even if it sold poorly.
Unfortunately, there are a few things about the N64 experience that haven’t held up well over time. Between framerates that routinely dip in to the low-teens, extremely muddy textures, worn out analog sticks, and an almost unbearably soft video output, the N64 is a little harder to love in 2020 than it was in 1996. For people looking to work around some of those issues, it feels like the ideal Nintendo 64 experience is a tale of two extremes: you can feed the N64’s analog signal to a CRT, which hides some of its image quality issues, or you can use high-end emulation to deliver clean, detailed, and responsive gameplay at the cost of historic accuracy. If you’re looking for something in-between those two extremes, a case could be made for the UltraHDMI.
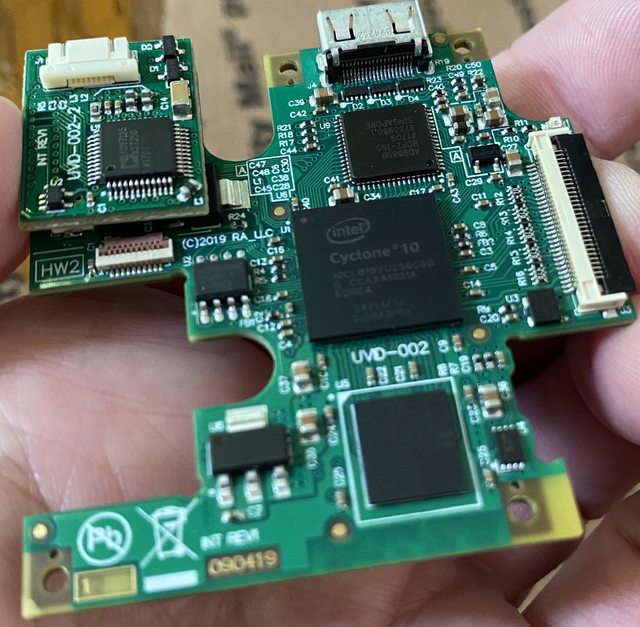
The UltraHDMI works in essentially the same way as Black Dog’s stable of mods: a digital A/V signal is pulled directly from the N64’s motherboard, fed in to an FPGA, and then scaled for HD output. It’s missing some features we’ve grown to love—like WiFi support for firmware updates and HQ2x smoothing filters—but it makes up for that with a few features that specifically address the N64’s soft video output. My Life in Gaming produced an excellent video that covers the UltraHDMI (look for it around 11:40), although it should be mentioned that several interesting features have been added since then.
Which brings us to the latest hardware revision of the UltraHDMI, known as HW2. Rather than shake things up, HW2 is functionally identical to HW1 if you’re just using its HDMI output. The big upgrade in HW2 lies in its ability to send analog YPbPr (component video) and RGB through the N64’s multi-out port. Some important things to note:
- The flex cables for HW2 are different from HW1, so there’s no easy way to upgrade without completely re-installing the mod.
- Analog output is enabled by an optional, separate board attached by a ribbon cable.
- This add on board enables YPbPr or RGB output, which can be toggled in the menu.
- Analog output is limited to 240p/480i. HDMI still won’t output anything below 480p.
- This board DOES NOT interfere with the console’s built in composite or S-Video output.
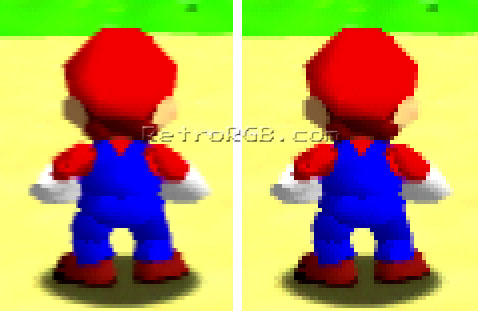
- VI de-blur and gamma adjustment will be applied to the YPbPr/RGB outputs.
- RGB output looks like it uses the same pins as a stock RGB mod, which means it should be compatible with HD Retrovision’s SNES cables. I still haven’t received firm confirmation about this though, so wait for more information before you start buying cables.
- The on screen display will NOT be visible on ANY of the analog outputs.
The base digital output mod is $130 USD, and the analog output option will cost another $20-30 USD. You’re looking at around $50 USD on top of the material costs if you need to hire someone to install it for you, and that’s before you consider shipping if your modder of choice isn’t local. That might seem like a lot, but these costs are roughly in line with what you’d pay for similar mods on other consoles. What complicates the value of the UltraHDMI is, frankly, is the question of whether or not you’ll see a bump in quality that is worth paying around $200 USD for.
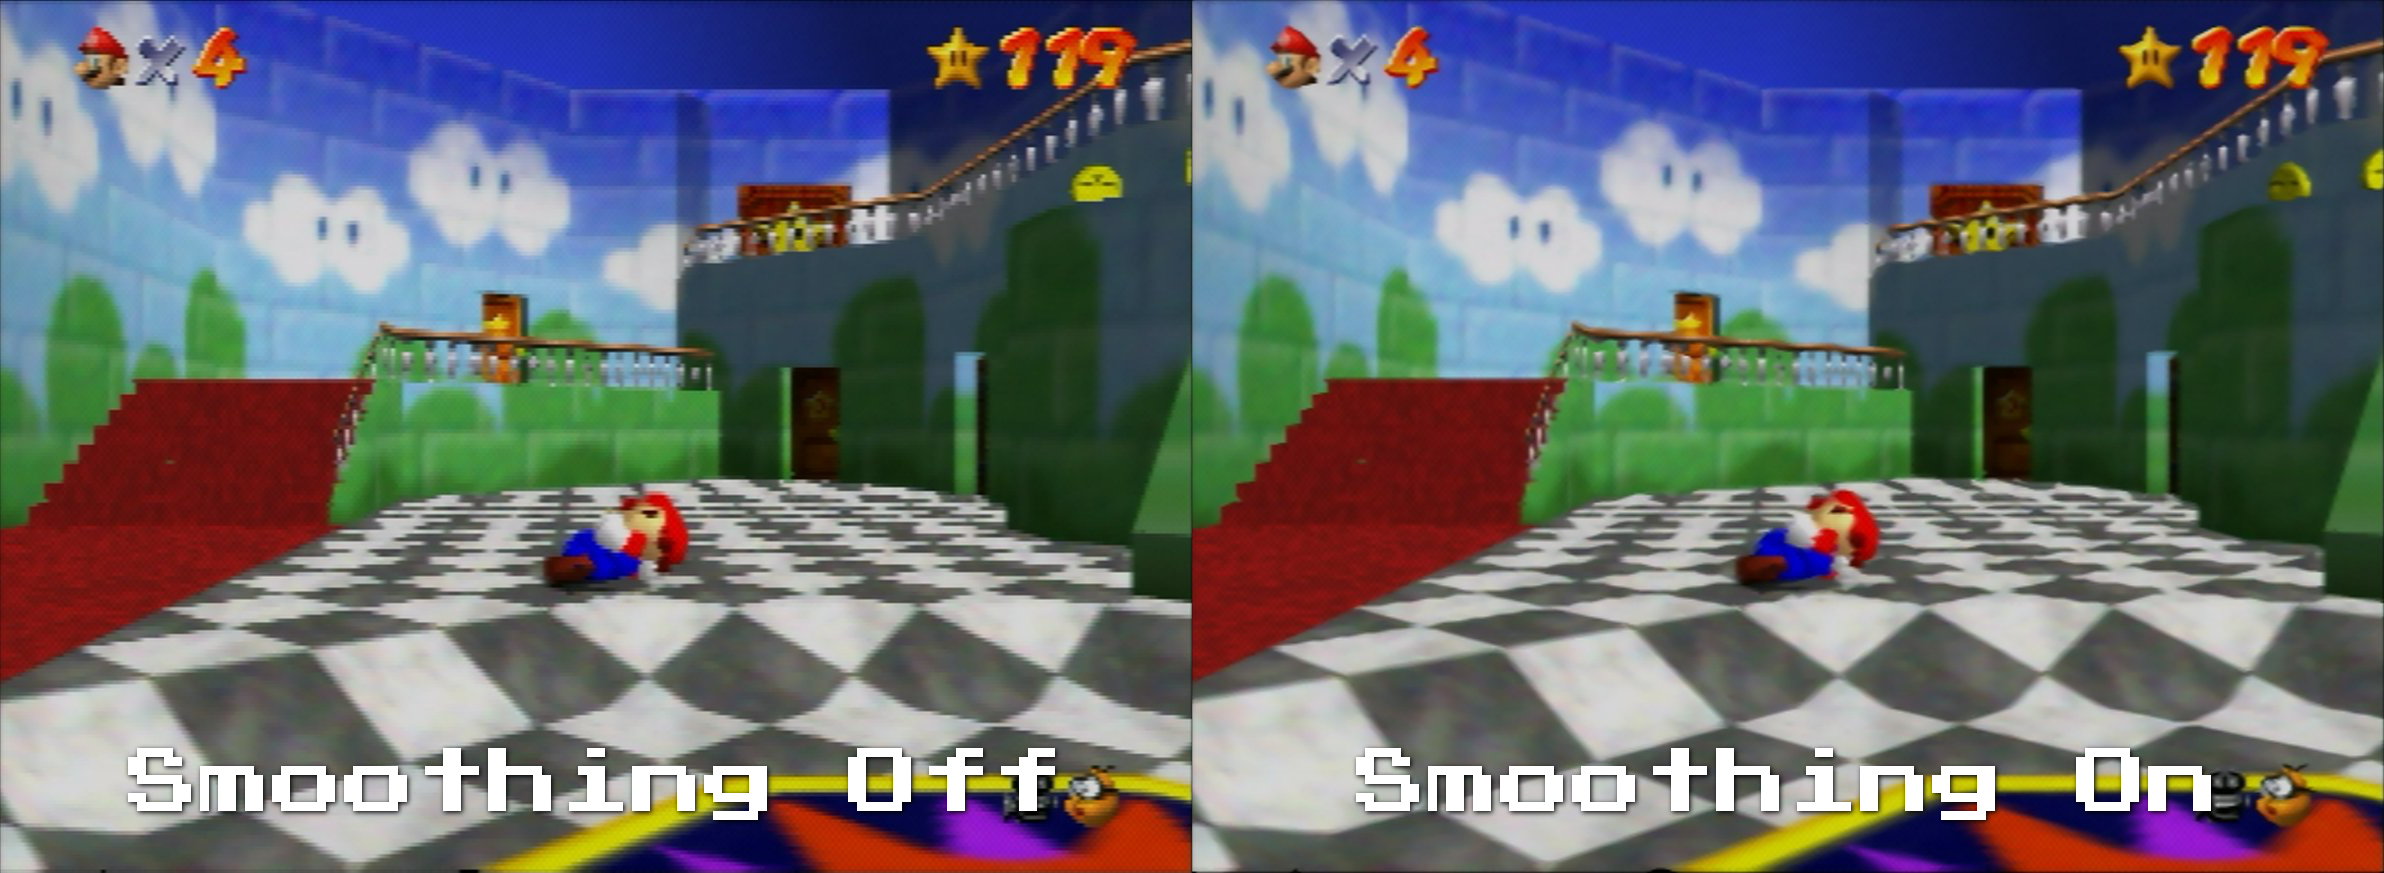
I don’t mean for this to be negative, because I do enjoy my UltraHDMI HW1 setup, but there is only so much that mods can do to improve the N64’s underlying image quality. Digital signal paths, de-blur filters, and disabling anti-aliasing with patches can help, but all they do is give you a clearer view of an image that is flawed in ways that can’t be addressed on original hardware. Because the N64’s image is fairly low detail regardless of how it is handled, I don’t think it’d be difficult to argue that the RetroTink Mini bundle delivers results that approach what the UltraHDMI is capable of for a fraction of the price.
In summary, if you’re looking to get the cleanest digital and analog picture from original N64 hardware then your ship has come in. If you’re just looking to enjoy your N64 on a modern display, I would recommend exploring all your options before making a decision. For users looking for purchasing options, this thread over on the SHMUPS forum should give you the info you need to get the ball rolling.