Update: Due to improvements to its video scaler, MiSTer now supports up to 1536p. I wrote up the details here.
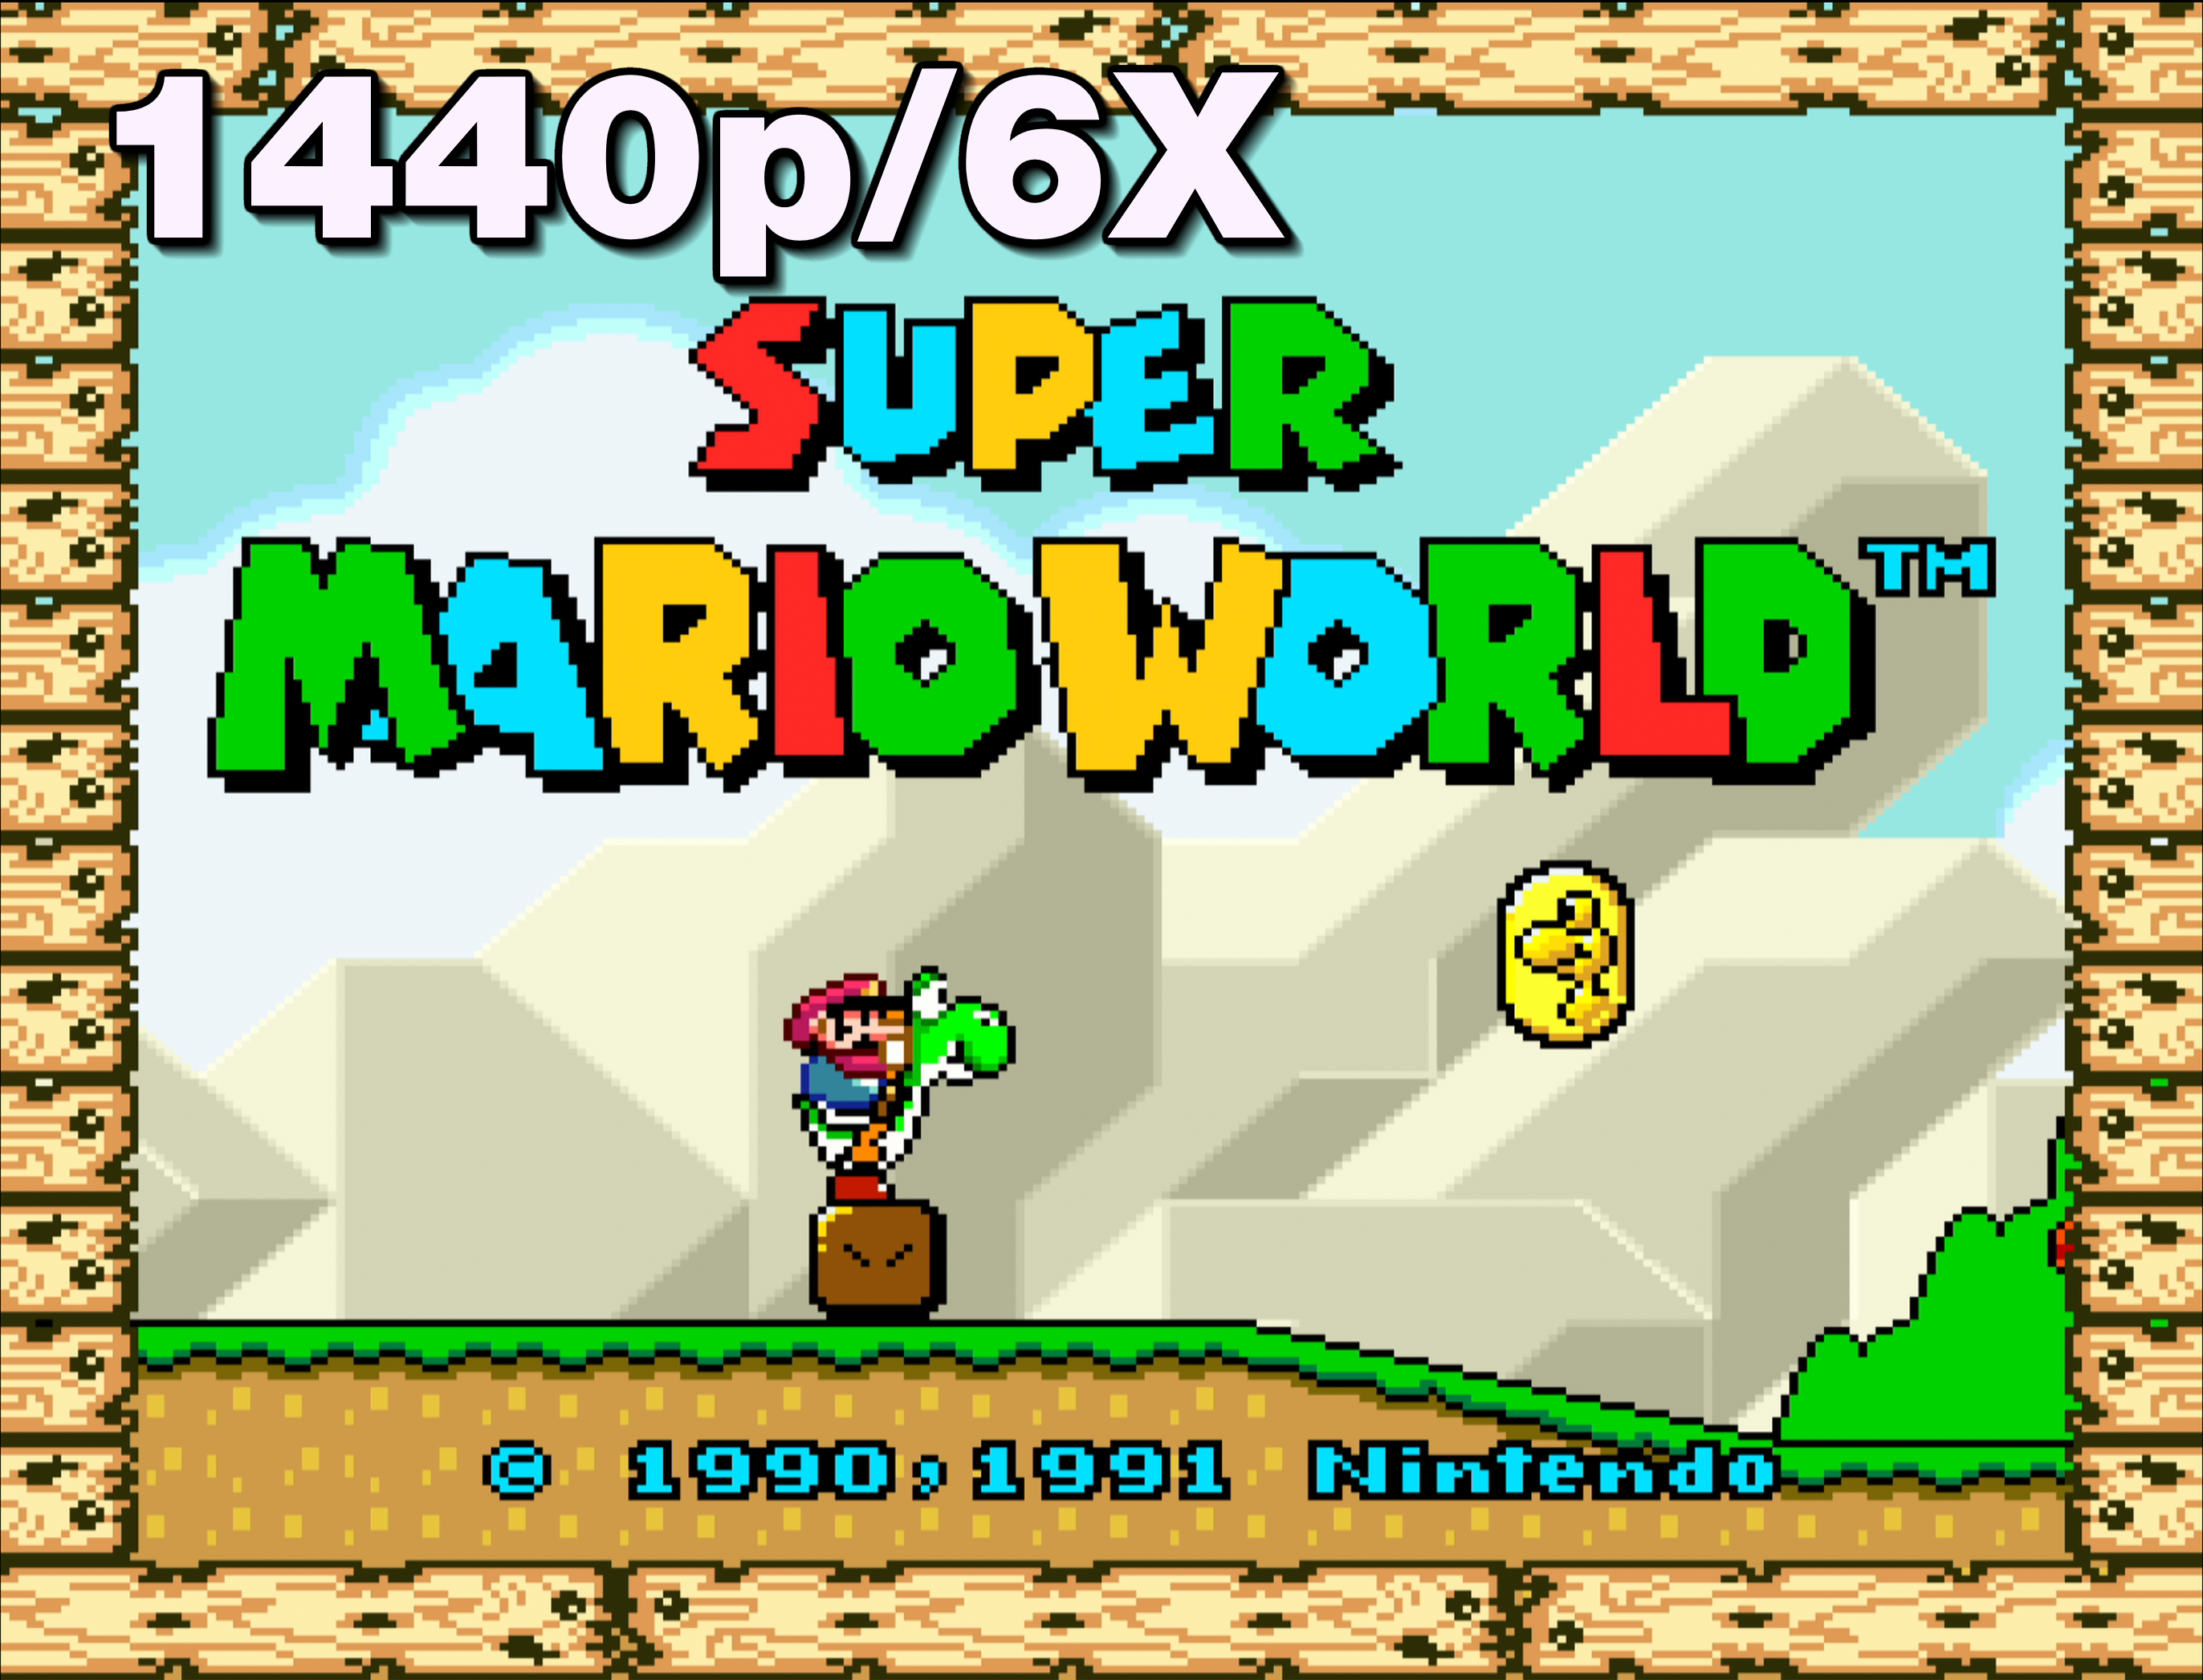
I have been on a quest to improve my MiSTer video capture setup for 2020, with the goal of improving my channel’s videos and streams. Few people might realize this, but MiSTer supports resolutions far beyond its default video modes. It supports any resolution between 240p to 1440p in a console’s native 60/50hz timing, by means of custom video modes that are defined in the MiSTer.ini file. Whether you need 640×480 for a VGA monitor or 1920×1440 for higher-resolution devices.
A list of user-tested custom video modes can be found here. These resolutions can be output from either the HDMI port, or analog RGB via the IO Board or a cheap direct video dongle, combined with VGA-to-X cables (VGA, SCART, component, BNC, etc). You can even go as high as 2560×1600, but only at 46hz (video_mode=2560,34,20,50,1600,2,4,3,200000), which is pretty much useless. 1440p is the highest 60hz mode possible. In this guide, I cover digital HDMI output only. Seek the advice of a MiSTer expert for analog settings, because they will vary based on the cables and monitor being used.
1440p is a 6X integer scale of 240p sources, and you can even use it for gameplay via HDMI. If you want to test that out, you simply need a quality 4K rated HDMI cable (skip the dvi_mode setting below). The caveat is that your TV has to support 1440p, which is rare. And even when it is supported, most TVs scale 1080p 2X to 4K better than they handle 1440p to 4K. Some TVs will even scale 720p to 4K better I’m told, but that has not been my experience. 1440p/6X & 1200p/5X are incredible options though, and here I will explain the process of getting them set up with a Datapath E1 or E1S video capture card in OBS Studio.
Cables
Datapath E1/E1S accept video through a DVI port, so you must use a DVI-to-HDMI cable to feed them MiSTer’s HDMI video output. I tested five cables and three different dongles, but only one would successfully feed 1440p with no problematic video artifacts, which appear as green pixels and lines that flash about. Most of these cables are poorly shielded, and they simply have too much cross-talk when pushed past their rated limits. They were designed to max out at 1200p, and some can’t even handle that. So, if you pick out a random DVI-to-HDMI cable, don’t expect it to work with any resolution above 1080p. I also tested 8K and 4K rated HDMI cables with DVI dongles rated at 1200p, but they all failed. The only cable that supports perfect 1440p & 1200p is this cable by Honshen, which was recommended to me by QCRetro.
Update: QCRetro has also successfully achieved 1440p with the KabelDirekt cable.
MiSTer Settings
You must change several settings in your MiSTer.INI file. Use Notepad++ to edit it in Windows. Do not use Windows Notepad or Wordpad:
———————–
dvi_mode=1 ; Disables audio over DVI and increases the video voltage. You can not achieve 1440p with a DVI cable without setting this to 1! Set to 0 if you are simply connecting to an HDMI monitor for gameplay, or to an HDMI 4K capture card that accepts audio.
video_mode=1920,8,20,20,1440,2,4,3,170000 ; Custom default resolution of 1920×1440 @60hz
video_mode_ntsc=1920,8,20,20,1440,2,4,3,170000 ; 1920×1440 @60hz
video_mode_pal=1920,8,20,20,1440,2,4,3,141667 ; 1920×1440 @50hz
; these modes are set by cores based on the region flag
Add the following entries to the bottom of the file. Currently, Neo Geo & GBA cores only support up to 1200p, so they need their own custom modes. At this time, you can’t set a PAL mode for Neo Geo, but this may change. Likewise, 1440p support may come to these cores eventually, so try them without the custom 1200p modes in a few months. You could also replace the above 1440p values with these if you prefer 1200p.
[gba]
video_mode=1920,48,32,80,1200,3,6,26,154128
vscale_mode=1
video_mode_ntsc=1920,48,32,80,1200,3,6,26,154128
video_mode_pal=1920,48,32,80,1200,3,6,26,128440
[NeoGeo]
video_mode=1920,48,32,80,1200,3,6,26,154128
video_mode_ntsc=1920,48,32,80,1200,3,6,26,154128
Update: You can also try these alternative settings:
video_mode=1920,32,32,50,1440,4,5,26,180000 ;1920×1440 @60
video_mode_ntsc=1920,32,32,50,1440,4,5,26,180000
video_mode_pal=1920,32,32,50,1440,4,5,26,150000
———————–
OBS Studio: Capture Device Settings – Datapath E1/E1S
Unfortunately, OBS presents a doubled/ghosted pink image in resolutions coming off the Datapath above 1080p that are 4:4:4. We can get around this by forcing 4:2:2. The following settings are assuming that you work in a 4K canvas in OBS, if not, don’t even bother with this guide because it’s pointless to downscale in OBS.
Resolution: Custom – 1920 x 1440 (change this to 1920 x 1200 for Neo Geo and GBA)
FPS: Match Output
Video Format: YUV2 (AKA 4:2:2)
Color Space: 709
Color Range: Full
Buffering: Auto-Detect
Scale filtering: Lanzcos (this gives the best image, right click on the Datapath in your canvas to set it)
———————–
That’s it, you should be ready to capture in 1440p and 1200p. I have been recording clips and testing for weeks to get these settings dialed in. You will run into problems if you don’t upload to YouTube at a very high bitrate. I upload 4K at 68mpbs and it’s the only way to not get overtaken by their own processing at the last second. When comparing a 1080p capture to 1440p (scaled to 4K), the differences are quite noticeable, and they still downscale to resolutions like 720p and 1080p nicely, even when scanlines or LCD filters are involved. Speaking of filters, scanlines look gorgeous in 1440/1200p, and with SoltanG42’s filters (automatically downloaded via the update script), they are always scaled perfectly. Likewise, if you use integer scaling, his pixel-perfect LCD filters are utterly impressive at these resolutions (see the GBA clip below).
Your mileage may vary of course, depending on your video workflow and other variables. So test, test, and then test some more. Compare your 1440p/4K canvas captures to 1080p/4K and hopefully you will have the same success that I have with it. Keep in mind that some cores simply don’t run at a perfect NTSC 60hz because of the hardware’s native timing. In Neo Geo for example, no matter what you do, you are going to have one doubled frame added for every 5-6 frames. The only way around that would be to modify the core itself and overclock it. GBA can also be problematic, but you can enable “sync core to video” in its menu for a de-jitter-like mode that really makes it play and capture smoothly.
Also, I prefer vsync_adjust=0 (2 frames of video buffering) since I don’t play from HDMI when I capture (I use a PVM and analog RGB to play on), but you may like to experiment with modes 1 (1 frame buffered) & 2 (0 frames buffered). Mode 2 may present jerky scrolling issues though, so be warned.
Need MiSTer help? Ask in Classic Gaming Discord’s #mister-help channel.
Why 1440p?
1440p is a useful standard for classic gaming because it is an integer scale of most classic gaming resolutions:
1440p = 2560 x 1440 pixels (16:9) or 1920 x 1440 pixels (4:3)
1440/240 = 6x
1440/288 = 5x
1440/480 = 3x
1440/576 = 2.5x
1440/720 = 2x
720p is a 50% integer of 1440p, and is another great choice but, but its resolution is slightly more limiting (720/240 = 3x, 720/288 = 2.5x, 720/480 = 1.5x, 720/576 = 1.25x) and 1080p isn’t a whole-number integer scale of any classic resolutions (1080/240 = 4.5x, 1080/288 = 3.75x, 1080/480 = 2.25x, 1080/576 = 1.875x, 1080/720 = 1.5x), although by setting MiSTer to vscale_mode=1 you can add a black border and still retain exact integer scaling in any resolultion. This may surprise people, but I prefer vscale_mode=3 myself, which applies 0.25 step integer scaling to stretch the screen height while still retaining a perfect aspect ratio. In 1440p though, almost everything ends up being a 1:1 scale anyways, but this gives some extra screen height in certain cases.
Thank you to Phoenix for the scaling multiplier chart. And a huge thank you to Grabulosaur, MiSTer’s scaler coder, for answering my questions and working with me behind the scenes to achieve the perfection I was after. And thank you to SoltanG42 who was also very helpful and answered questions about video modes, vscale settings, etc. And a giant thank you to ShaneLynch for pixel peeping dozens of test clips for me and providing great feedback. This was a long and tricky project, and I couldn’t have done it without all the help I received.
Below are 1440p & 1200p test clips I captured.
MakerSpot Micro USB OTG Hub for Raspberry Pi Zero 4 Port High Speed Sync and Extension Cable Adapter Also Works with Android Tablet Raspbian Jessie Linux
DE10-Nano Kit
For reference, these are the products I tested that do not work for 1440p with the Datapath E1/E1S: Twisted Veins 4K HDMI, BlueRigger DVI-to-HDMI Cable, Cable Matters 8K HDMI, UGreen DVI/HDMI Dongle, SMAKN DVI/HDMI Dongle, Monoprice 8K HDMI, unbranded DVI/HDMI dongle, unbranded DVI-to-HDMI cable from an old monitor. DVI dongles in general are not a good choice for the Datapath, even for 1080p.
Auto Amazon Links: No products found. http_request_failed: A valid URL was not provided. URL: https://ws-na.amazon-adsystem.com/widgets/q?SearchIndex=All&multipageStart=0&multipageCount=20&Operation=GetResults&Keywords=B071DQ2C8Y|B00SW9JI9A|B07B89YHSB&InstanceId=0&TemplateId=MobileSearchResults&ServiceVersion=20070822&MarketPlace=US Cache: AAL_f32e5cdafda5f054237ac66929f5342f