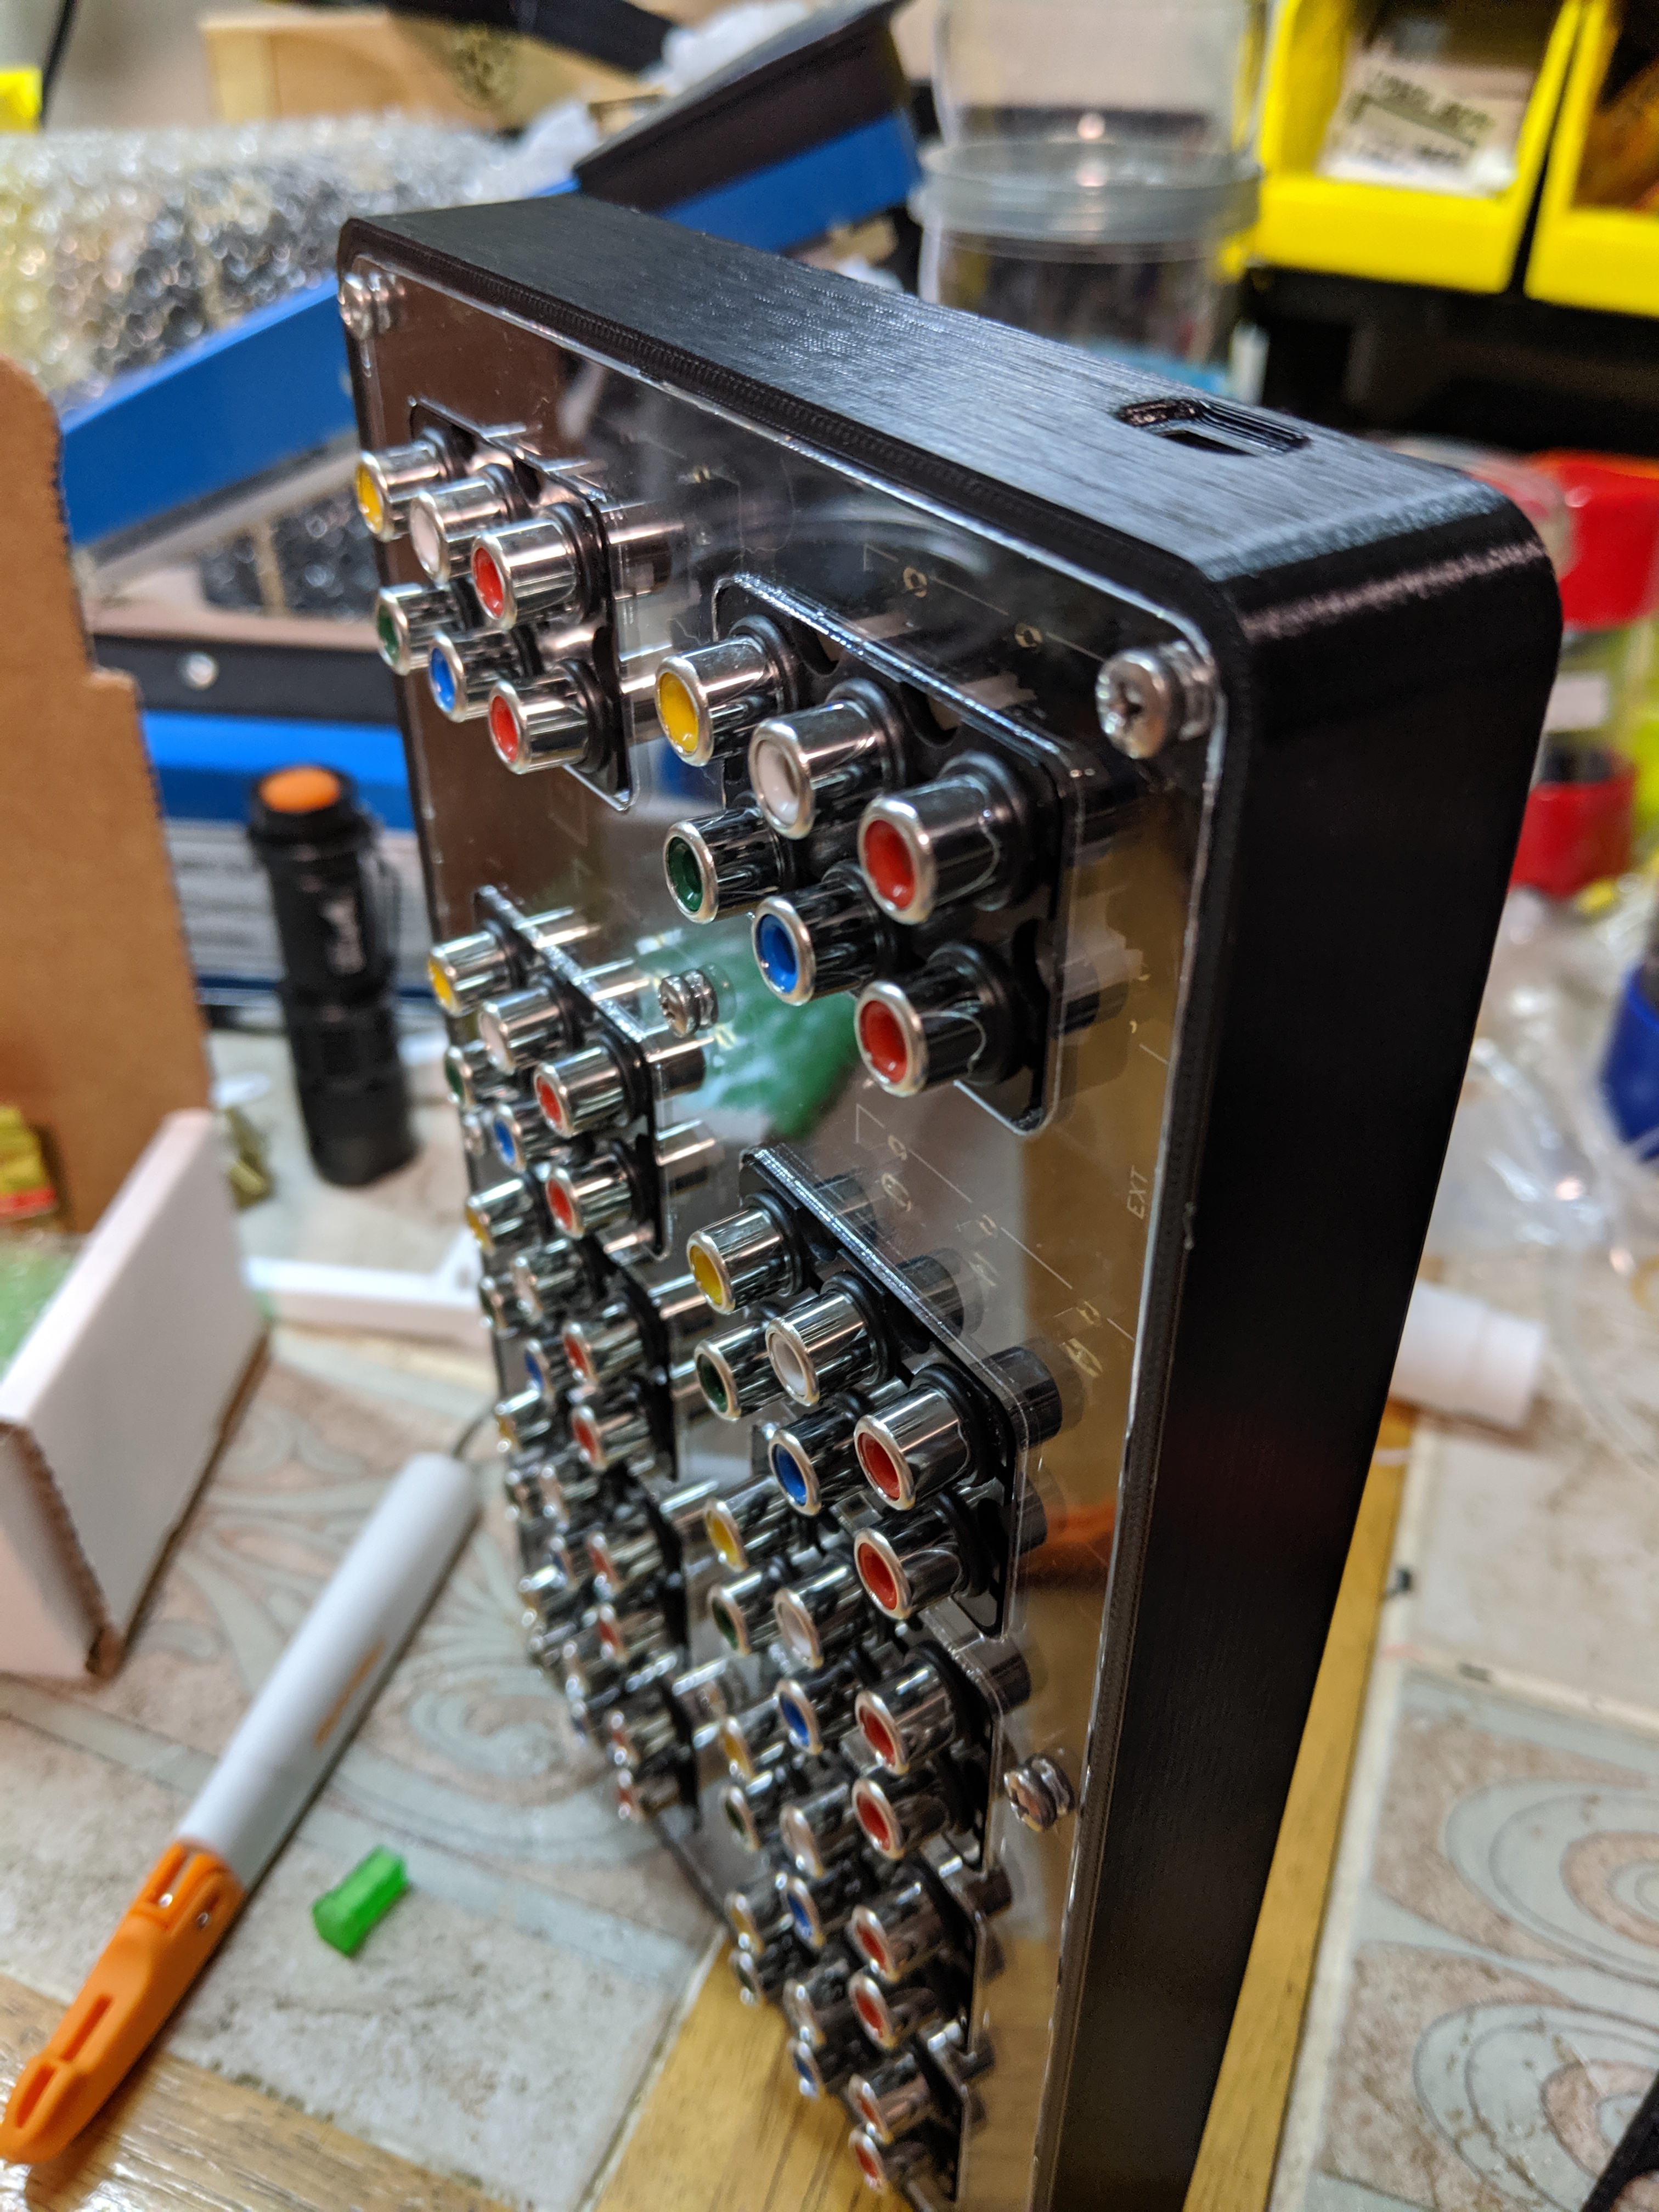
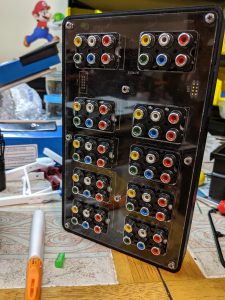
I was loaned a GComp (8×2) case by a twitter follower in order to make a custom case for the switch. I was really enamored with the look of the switch, the PCB has a really great look to it. So rather than hide all the beauty of SuperG’s hard work I decided to keep the clear plexy covers and instead make a bumper that keeps fingers and debris out of the important bits, but still allow a view of the cool look of the device.

Auto Amazon Links: No products found. http_request_failed: A valid URL was not provided. URL: https://ws-na.amazon-adsystem.com/widgets/q?SearchIndex=All&multipageStart=0&multipageCount=20&Operation=GetResults&Keywords=B0761PMW3X|B077VV7SMH|B07MJQFC6X|B07JYWXVFW&InstanceId=0&TemplateId=MobileSearchResults&ServiceVersion=20070822&MarketPlace=US Cache: AAL_bd0ebeb4829935f0b0b8199e8788086d